Business Hours: Tuesday - Saturday 9 a.m. - 5 p.m. (PST)
For a Square e-Gift card holder, please contact us before placing an order with it. Thank you!
Business Hours: Tuesday - Saturday 9 a.m. - 5 p.m. (PST)
For a Square e-Gift card holder, please contact us before placing an order with it. Thank you!
To get the most pleasure and best use out of your Japanese kitchen knife, it should be kept as sharp as possible. Japanese kitchen knives are properly sharpened using Japanese water stones, either man-made or natural.
For normal sharpening, two stones (medium grit #800, #1000, #1200 or #1500 and finishing grit #4000, 5000, 6000 or 8000) would be optimal, but just one medium grit stone is okay.
Items you will need:
container for soaking your stones
stone holder, rubber mat, or a damp towel
1-2 sheets of newspaper
extra water on hand
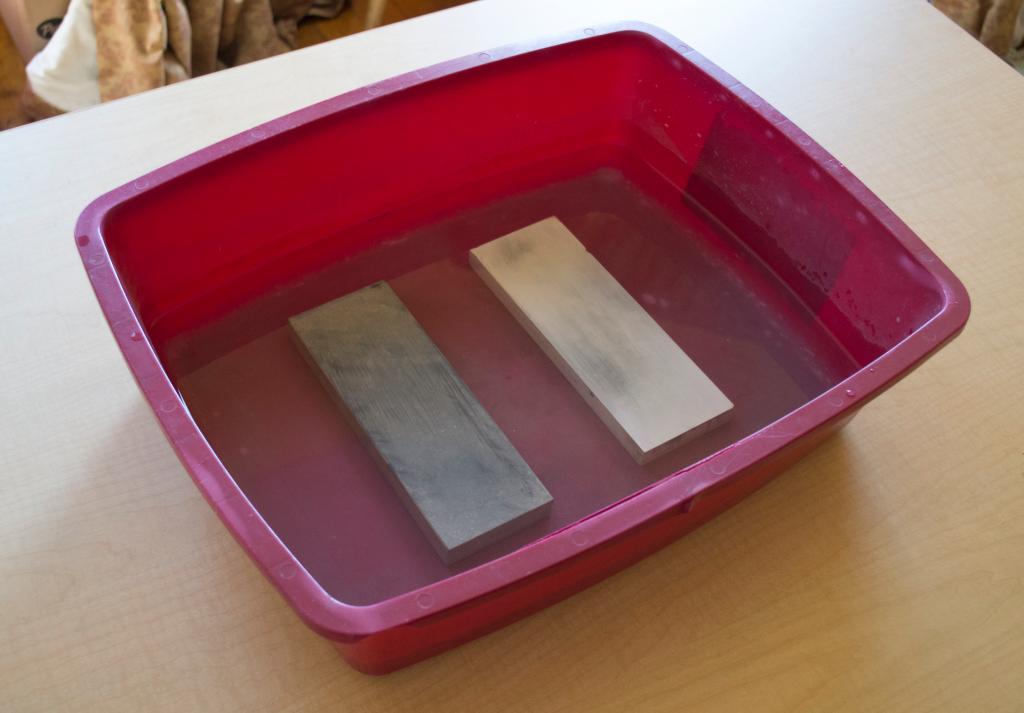
Step 1: soak your stone(s)
Start by soaking your water stone(s) for about 20 minutes, or until the stone stops producing bubbles. Once the stone is saturated with water, you are ready to begin.
Step 2: set up your stone
On a stable surface at a comfortable height, place the stone on a stone holder or on top of a rubber mat or damp folded towel to prevent slippage.
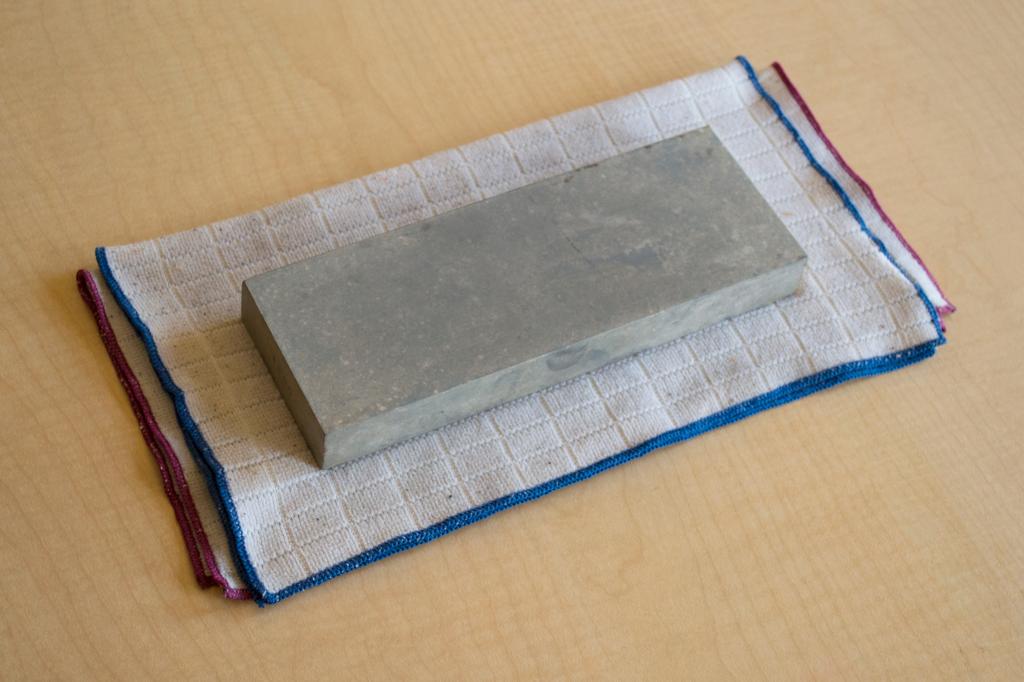
The rectangular stone should be placed in front of you lengthwise, roughly perpendicular to your shoulders. Add a few additional drops of water to keep the process wet (as you sharpen, a slightly thicker-than-water slurry, or tojiru, will develop on the stone's surface. This is a good thing, as it helps lubricate the process, so it's important to keep adding drops of water as needed to maintain the tojiru without washing it away).

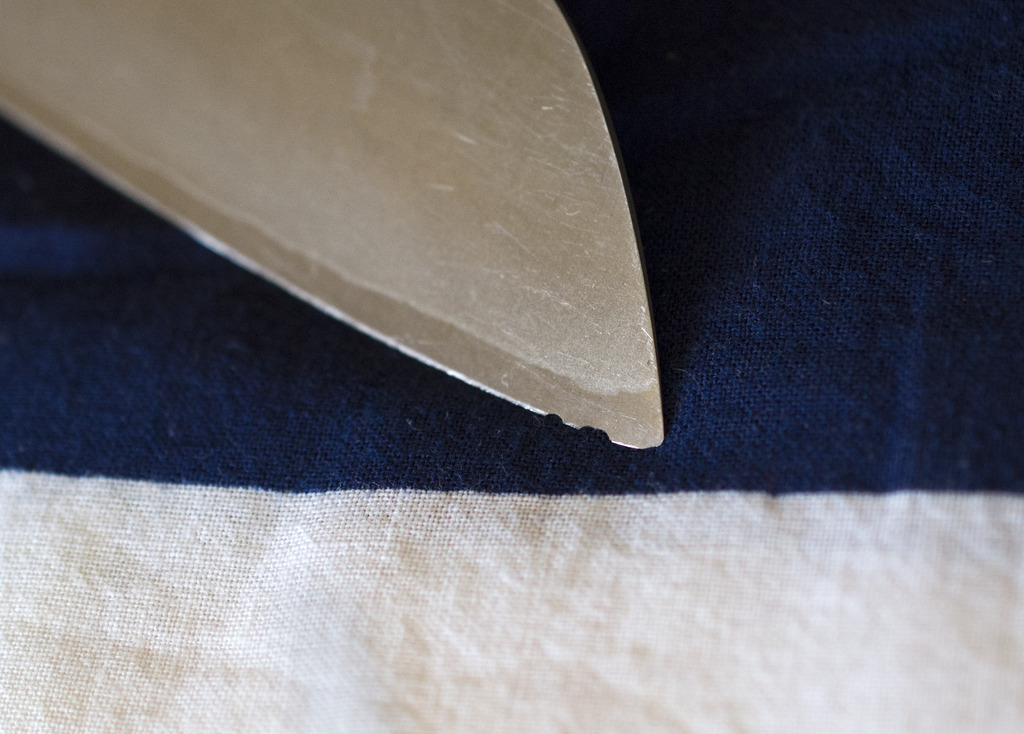
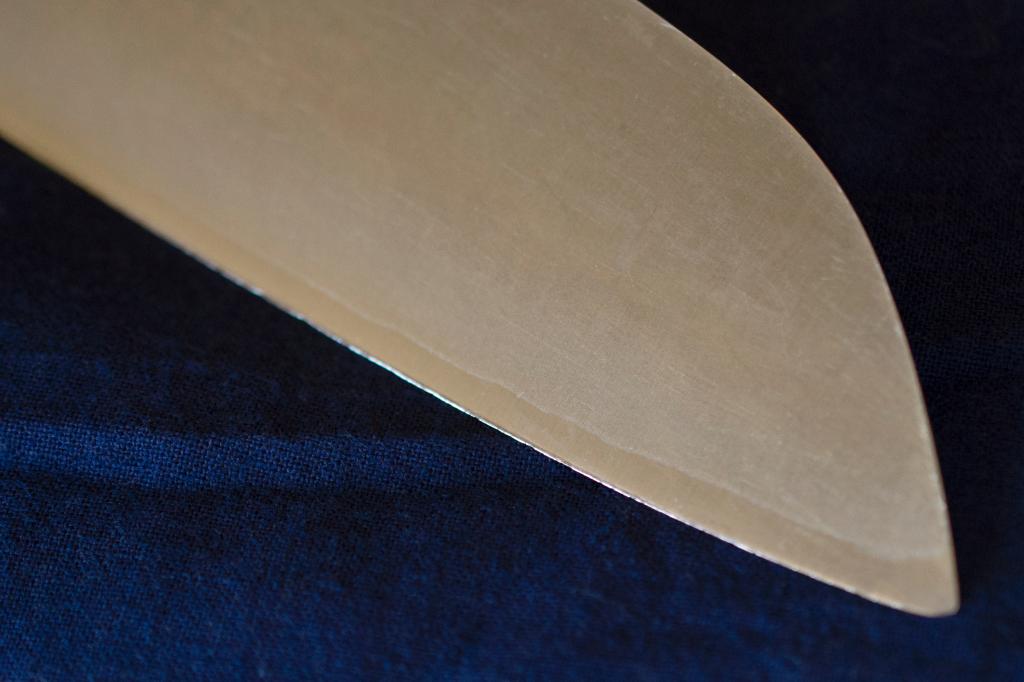
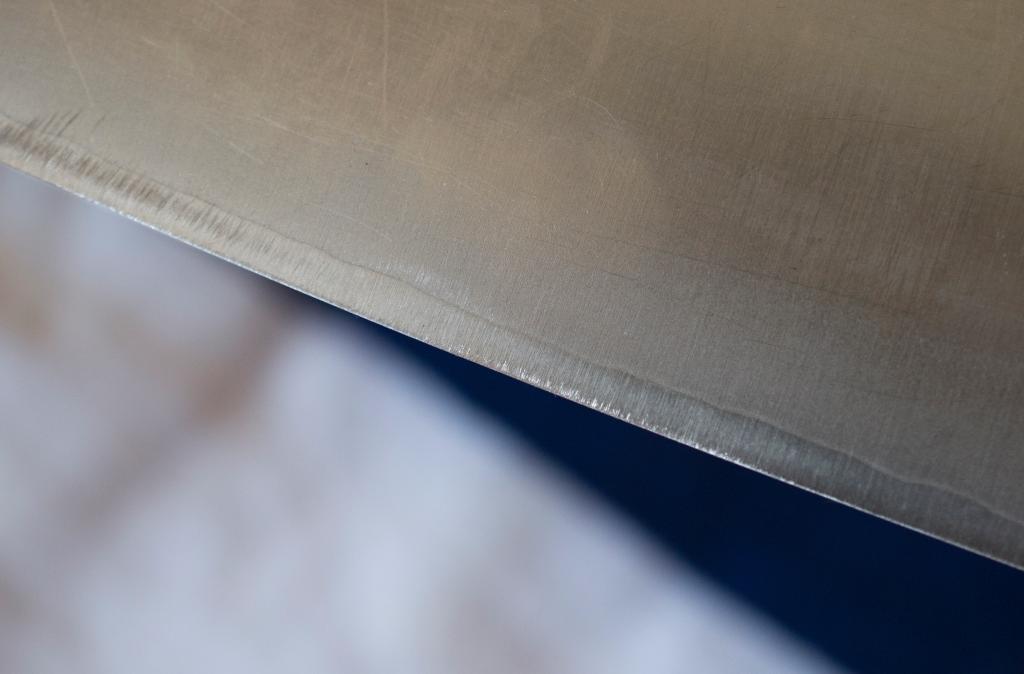
(A knife before being sharpened)
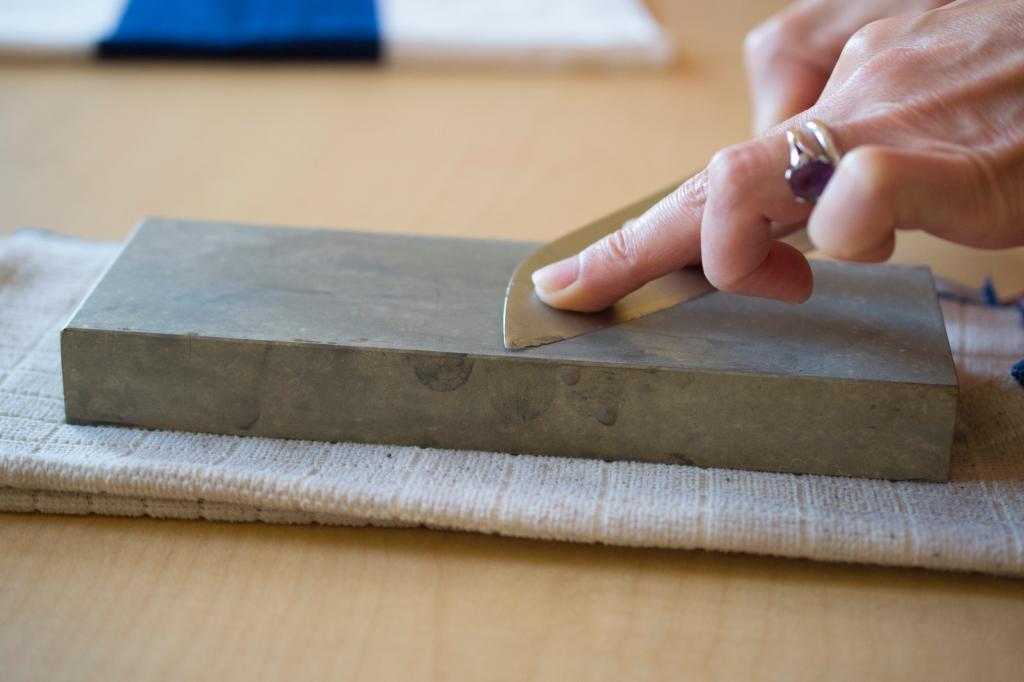
Step 3: set up your knife
Note: the following instructions are for sharpening double edge or cleaver style knives. For single edge (one side is flat), Deba, or Sashimi knives, additional information will appear at the end of this section.
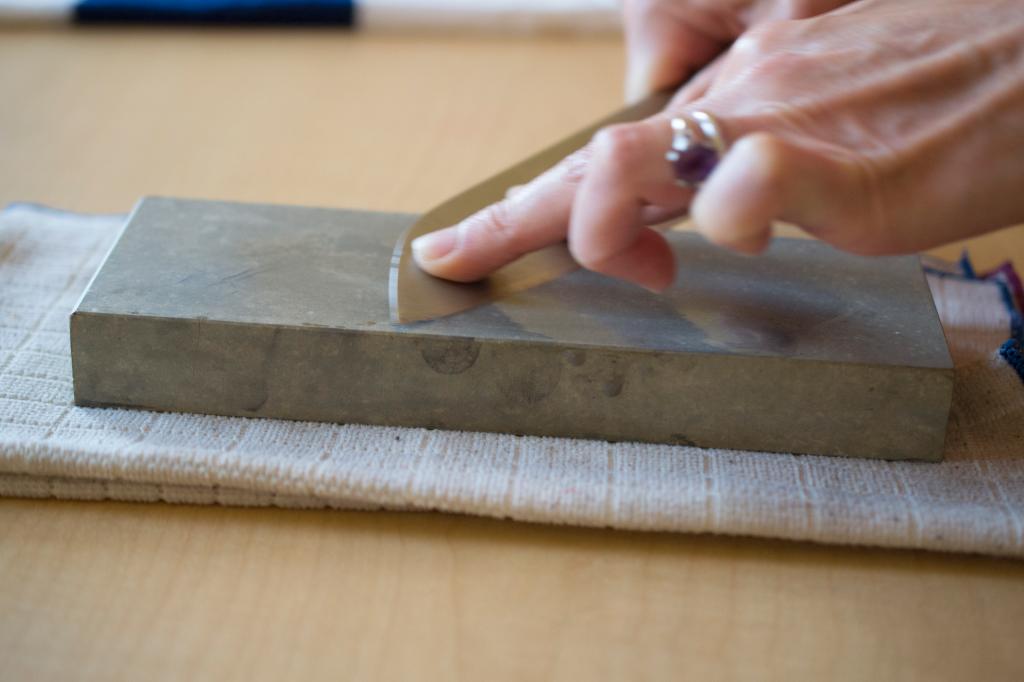
The best angle for sharpening most knives is a low one, about 15 degrees. It is important to maintain this angle consistently throughout the sharpening process.
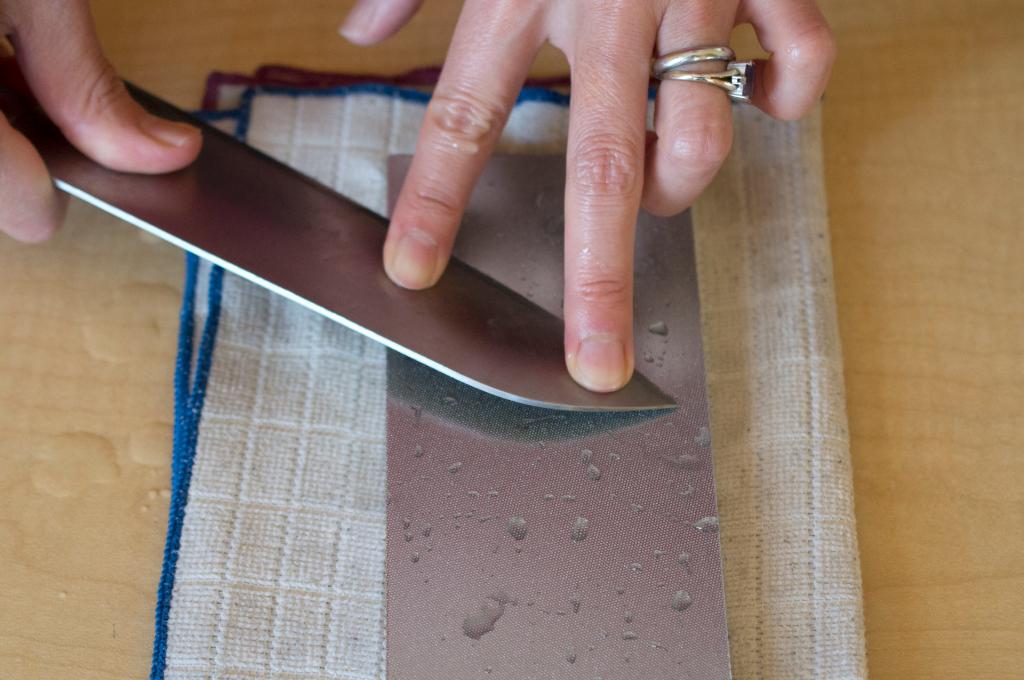
Begin by holding the knife handle comfortably yet firmly in one hand, with the index finger extended to stabilize the blade at the low, 15-degree angle. At this point the cutting edge of the blade should be facing your body.
Lay the blade across the stone diagonally, and place the first two fingers of your other hand in a safe, central position towards the tip of the blade to help guide and stabilize the knife.

Step 4: begin sharpening
Maintaining the low angle of the blade, push the knife firmly away from you across the length of the stone, then lightly pull it back towards you when you near the end.
IMPORTANT: while the blade should be in contact with the stone continuously, the cutting, or sharpening, only really happens in one direction (in this case as you're pushing it away from you). In other words, push down on the blade as you move forward and use little to no pressure on the return. This will keep the blade from gouging into the stone as you work.
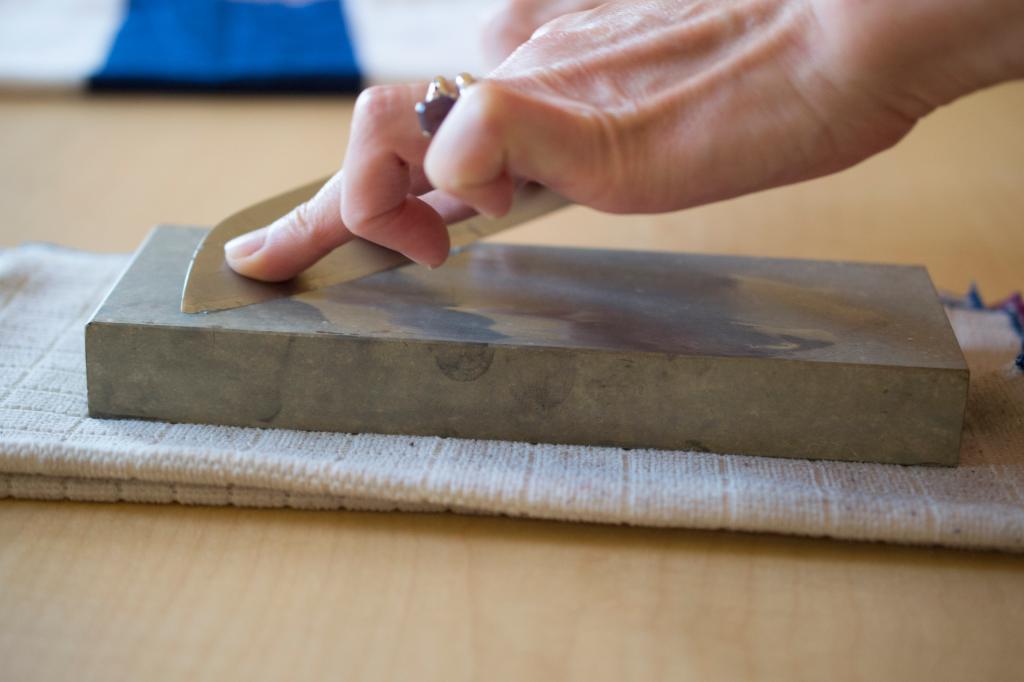
Step 5: develop kaeri
Keeping your shoulders loose, work the blade forward and back as described in Step 4 while also moving the knife side to side across the width of the stone to insure an even sharpening along the length of the cutting edge - don't forget the tip!
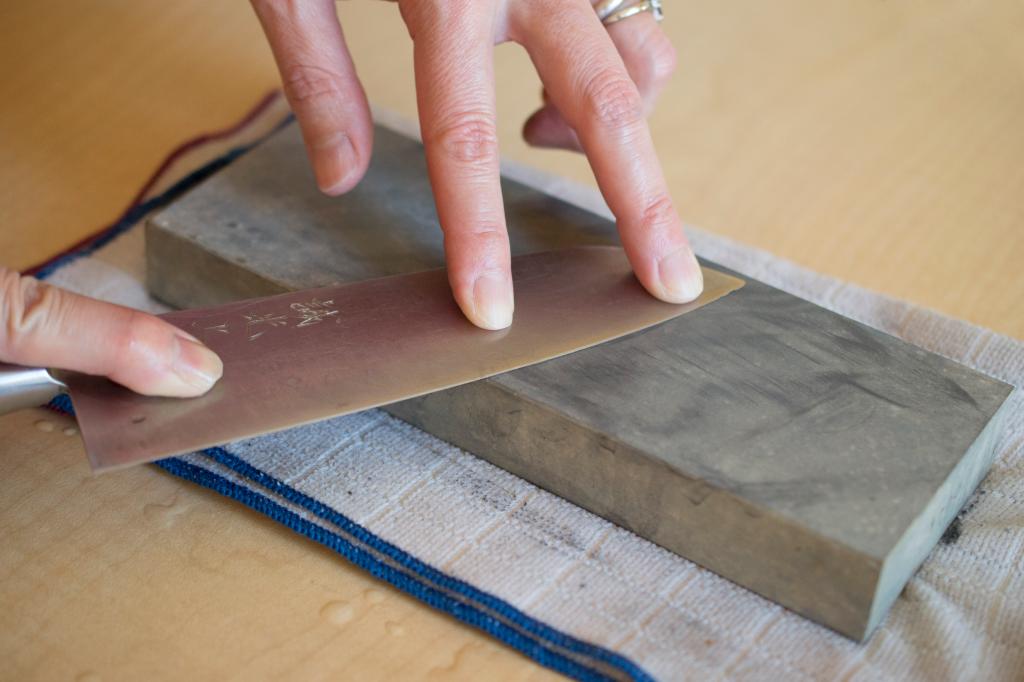
What you're looking for at this point is to develop a thin burr, or kaeri, along the entire cutting edge of the blade. This very fine yet rough ridge can be detected by gently dragging your finger across (NEVER along!) the cutting edge (the texture is similar to fine sandpaper). Although the kaeri will eventually be removed as you continue to work both sides of the blade, it is an important step to achieve at this point, because it means your knife is beginning to get sharp.
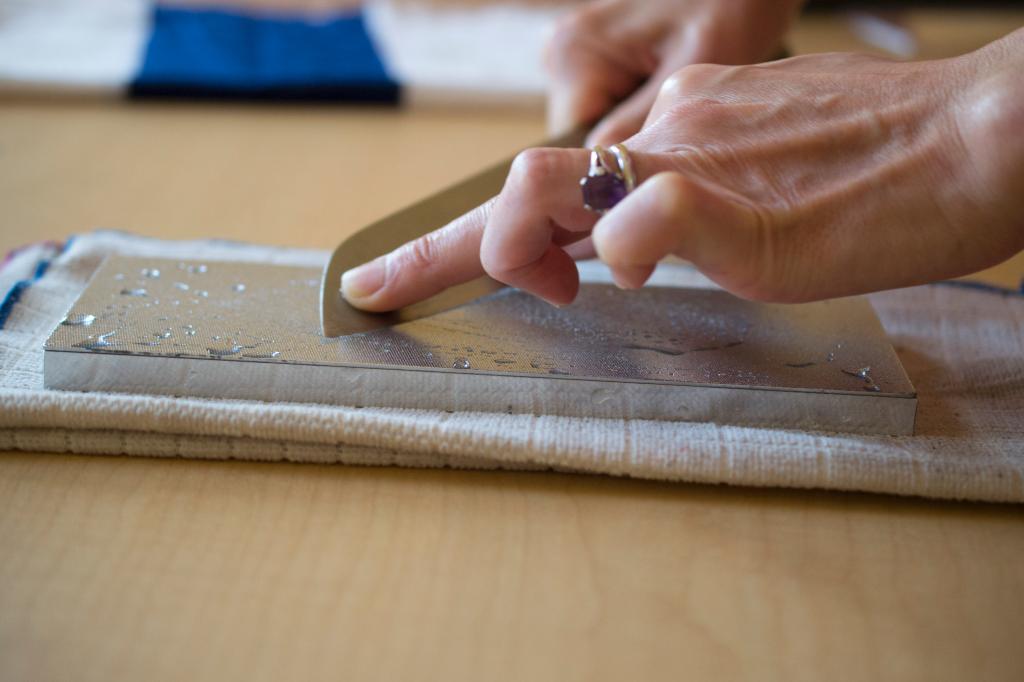
Step 6: sharpen the other side of the knife
Once the burr, or kaeri, can be felt along the entire length of the sharpened edge, it is time to flip the blade over and work the other side. If you want to keep the knife in the same hand, this means that you will now have the cutting edge facing away from you. It also means that you will now be applying pressure only on the pull stroke, as you drag the blade back towards you. Remember that you never want to force the cutting edge down into the stone as it moves forward on the surface.
With your fingers in the same position as before, and maintaining the same angle of the blade against the stone, work the second edge of the blade as described above, keeping the blade moving gently lengthwise to work the entire length of the cutting edge. Use as much of the stone's surface as possible as you sharpen by taking long, smooth strokes.
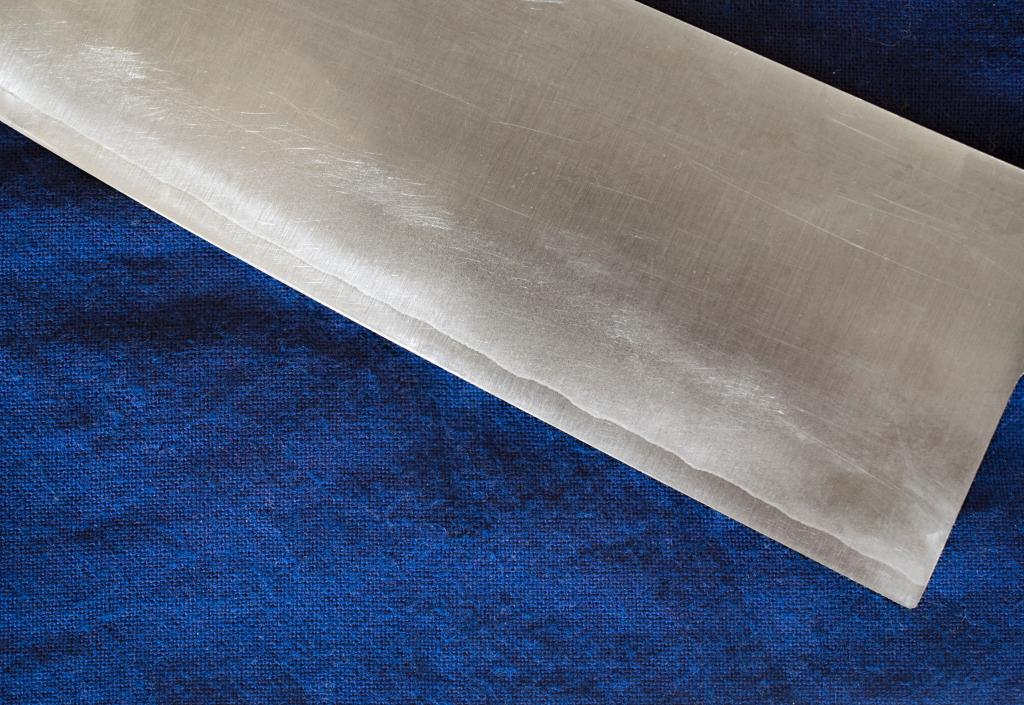
Before long, the kaeri should disappear from the cutting edge, which will now be smoother to the touch but -be careful- much sharper! It's worth repeating here: never run your finger along the length of the cutting edge, only very gently across to check your progress.
Step 7: strop the blade
Unless you have a finer stone and want to repeat the steps above for an even smoother, sharper cutting edge, you're almost done. The last step is to "strop" the blade by dragging it back and forth a few times across a folded newspaper. This will provide a fine polishing effect and will remove any tiny micro burrs. Give the blade a quick rinse and it's now ready for use.
Finishing up
Once you are finished, don't forget to rinse off your stone and set it up against a wall to dry for about one day. Do not put it anywhere where it will be in direct sunlight.
Notes on sharpening single edged knives:
Sharpening a single edge, Deba, or Sashimi knife blade is the same process as above, except that only the beveled edge should be sharpened at 15 degrees. Once the kaeri, or burr, is formed, the back of the knife should be kept flat and straight against the stone and pulled a few times with NO ANGLE to remove the burr. Once this is done, buff the edge on a folded newspaper, rinse and enjoy.
Sharpening your own Japanese kitchen knife takes a little bit of practice, but it's easier than you might think. It is also very satisfying and will vastly improve your enjoyment of the knife for years to come.
Additional information:
If a blade has any nicks in it, a coarse stone or diamond sharpening plate should be used to make them smaller (if a nick is too big, do not try to remove it in one sharpening session). Use the same process explained above.