Business Hours: Tuesday - Saturday 9 a.m. - 5 p.m. (PST)
For a Square e-Gift card holder, please contact us before placing an order with it. Thank you!
Business Hours: Tuesday - Saturday 9 a.m. - 5 p.m. (PST)
For a Square e-Gift card holder, please contact us before placing an order with it. Thank you!


Out of Stock.
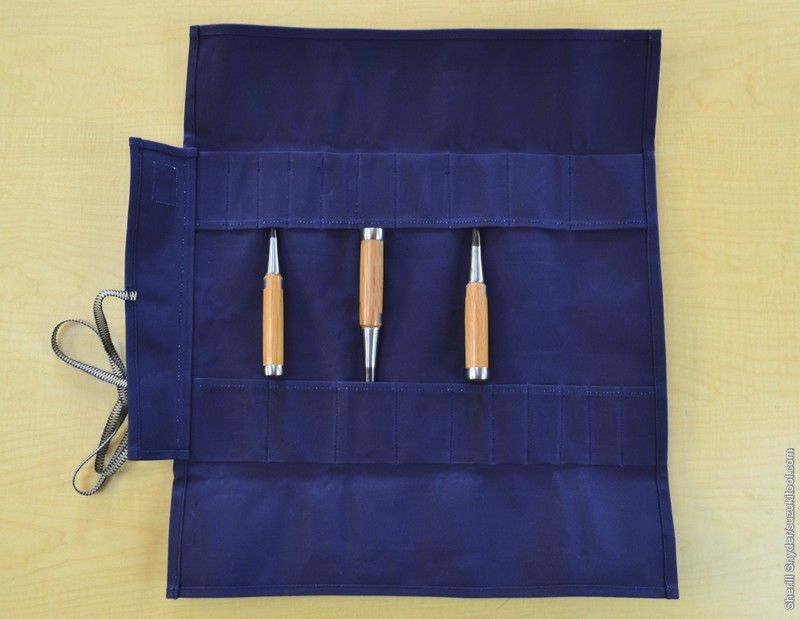
The small roll is for chisels/nomi that are 12” (30.5 cm) long and under (this includes most bench chisels, dovetail chisels and timber chisels with shorter handles).
The large roll is for chisels/nomi that are 14” (35.5 cm) long (this includes most paring and push chisels with longer handles).
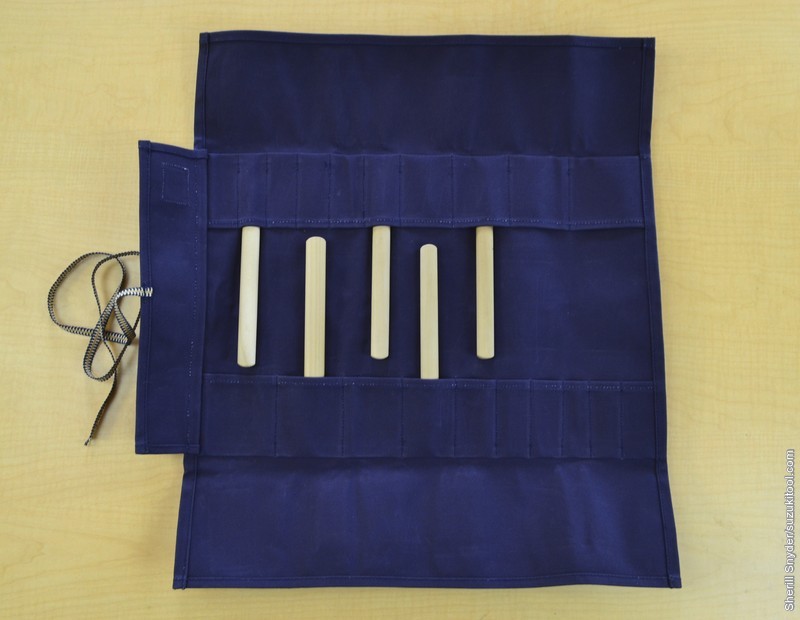
The fabric used in these rolls is Kurashiki sailcloth. This is a very durable, waterproof, tightly woven canvas that, when cared for properly, will provide many years of service. It is important to be careful when inserting sharp tools into the slots for the first time. It is also beneficial to open the slots a bit before trying to insert your tools.
We recommend the following method for preparing the roll for its first use:

|
Chisel Hoop Setter |
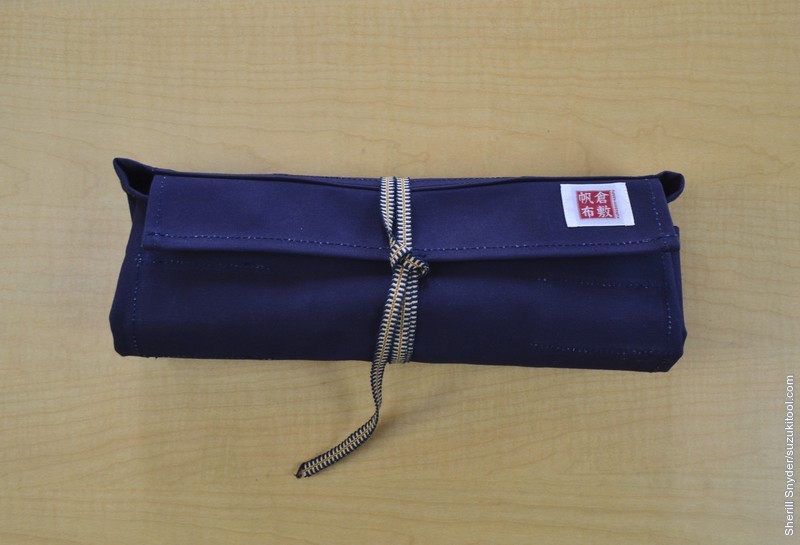
| Canvas Saw Rolls |

|